
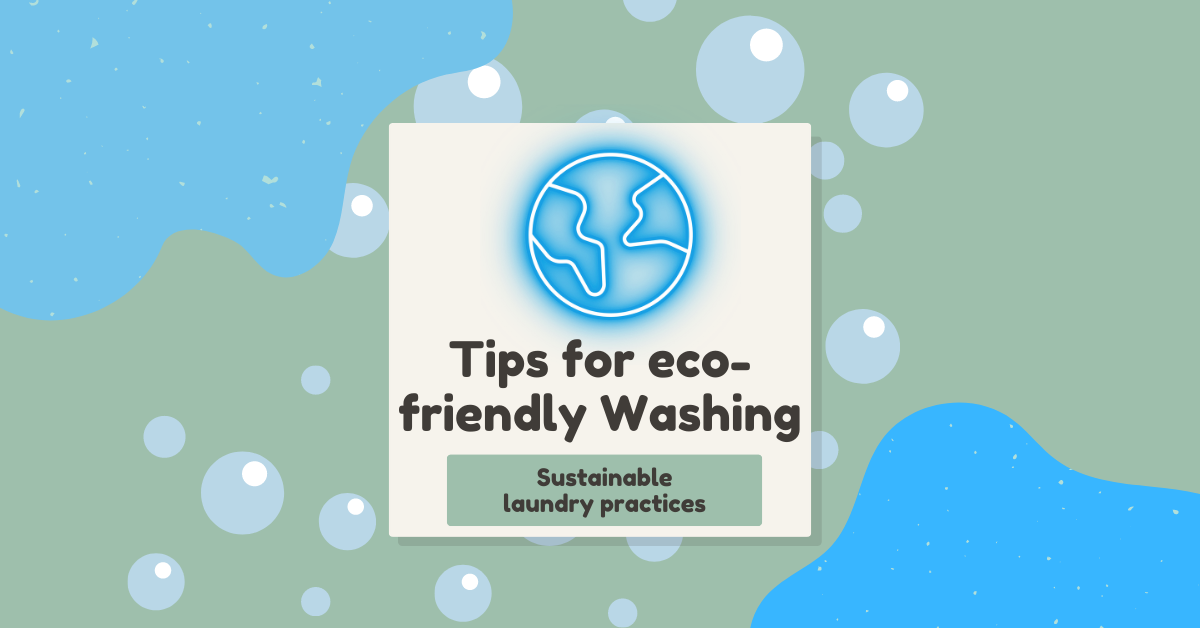
 In today's world, sustainability is more important than ever. Every small step we take towards eco-friendly practices contributes to a healthier planet. Did you know that your laundry routine can have a significant impact on the environment? In this article, we will explore sustainable laundry practices and provide you with valuable tips to make your washing routine more eco-friendly.
Opt for Cold Water Washing: One of the simplest ways to reduce energy consumption is by washing your clothes in cold water. Heating water accounts for a significant portion of energy usage during laundry. By switching to cold water, you can conserve energy and still achieve clean and fresh clothes. Use Eco-Friendly Laundry Detergents: Traditional laundry detergents often contain harmful chemicals that can harm aquatic life and contribute to water pollution. Make a conscious choice by switching to eco-friendly and biodegradable laundry detergents. Look for labels that indicate products are free from phosphates, optical brighteners, and synthetic fragrances. Embrace Air Drying: Harness the power of the sun and fresh air by air drying your clothes whenever possible. Line drying or using drying racks not only saves energy but also helps preserve the quality and lifespan of your garments. The natural drying process is gentle on fabrics and avoids the shrinkage and wear caused by machine drying. Minimize Dryer Usage: When you do use a dryer, maximize its efficiency by implementing a few simple practices. Clean the lint filter after each load to improve airflow and reduce drying time. Also, consider using wool dryer balls or dryer balls made from natural materials instead of dryer sheets, which are often laden with chemicals. Embrace Sustainable Laundry Accessories: Make sustainable choices when it comes to laundry accessories. Use reusable laundry bags or hampers instead of plastic bags. Replace single-use dryer sheets with reusable alternatives like dryer balls or natural fabric softeners. These small changes can add up to significant reductions in waste over time. Conserve Water: Be mindful of water usage while doing laundry. Only run full loads to maximize the efficiency of your washing machine. If you need to wash a smaller load, adjust the water level accordingly. Additionally, consider investing in water-efficient washing machines that are designed to minimize water consumption. Extend Clothing Lifespan: Prolong the lifespan of your clothes by adopting practices that minimize wear and tear. Wash your clothes less frequently unless they are visibly soiled. Spot clean stains instead of washing the entire garment. Additionally, choose a gentler wash cycle when appropriate and avoid overloading the washing machine. By implementing these sustainable laundry practices, you can contribute to a greener and more environmentally friendly world. Each step towards eco-friendly washing, from using cold water to embracing air drying, makes a positive impact. Let's make sustainable choices in our laundry routines and inspire others to join us in creating a more sustainable future. Together, we can make a difference.
0 Comments
 Have you ever stood in front of your washing machine, perplexed by the laundry symbols on your clothing care labels? You're not alone! Understanding these symbols is key to properly caring for your clothes and ensuring they remain in great condition. In this comprehensive guide, we will decode the laundry symbols commonly found on clothing care labels, empowering you to conquer your laundry with confidence.
Deciphering Washing Symbols: Let's begin by decoding the symbols that indicate the appropriate washing method for your garments: a. Water Temperature: The symbol resembling a thermometer represents the recommended water temperature for washing the garment. One dot signifies cold or gentle wash, two dots indicate warm wash, and three dots represent hot wash. b. Washing Machine Cycle: A symbol resembling a tub filled with water signifies the appropriate washing machine cycle. For example, a gentle cycle is represented by a tub with waves, while a regular cycle is depicted by a tub without waves. c. Hand Wash: The symbol of a hand in a basin indicates that the garment should be hand washed. This method is suitable for delicate or sensitive fabrics that may not withstand machine washing. Understanding Bleaching Symbols: Bleaching symbols inform you whether it's safe to use bleach on your garments: Bleach Usage: A triangle symbol determines whether bleach can be used. If the triangle is empty, it means non-chlorine bleach can be used. If the triangle is filled with diagonal lines, it indicates that chlorine bleach is safe to use. If there is a cross over the triangle, it means bleach should not be used. Interpreting Drying Symbols: Drying symbols guide you on the appropriate drying method for your clothes: a. Tumble Dry: A square symbol with a circle inside represents the tumble drying method. The dots inside the circle indicate the heat setting, with one dot for low heat, two dots for medium heat, and three dots for high heat. b. Line Dry: A horizontal line inside a square signifies that the garment should be line dried. Hang the clothes on a clothesline or drying rack to air dry naturally. c. Drip Dry: The symbol of a vertical line with drops underneath indicates that the garment should be drip dried. Hang the clothes vertically to allow excess water to drip off. Ironing Symbols: Ironing symbols provide guidance on the appropriate ironing temperature and techniques: a. Iron Temperature: The symbol resembling an iron represents the appropriate ironing temperature. Dots inside the iron indicate the heat setting, with one dot for low heat, two dots for medium heat, and three dots for high heat. b. Ironing Restrictions: Symbols like an iron with a cross or an iron with steam coming out of it indicate that ironing should be avoided or steam ironing is permissible, respectively. Additional Care Symbols: Some care labels include additional symbols that provide specific care instructions: a. Dry Cleaning: The symbol of a circle indicates that the garment should be dry cleaned. Letters inside the circle may specify the type of solvent to be used. b. Do Not Dry Clean: A circle with a cross over it signifies that the garment should not be dry cleaned. This symbol often accompanies delicate or sensitive fabrics. c. Flat Dry: A symbol resembling a garment laid flat indicates that the item should be dried flat on a surface to maintain its shape. Cracking the code of laundry symbols allows you to confidently care for your clothes, ensuring their longevity and maintaining their quality. By understanding the various symbols related to washing, bleaching, drying, ironing, and additional care instructions, you can navigate the world of laundry with ease. Referencing this ultimate guide to laundry symbols will empower you to decode clothing care labels like a pro, guaranteeing that your garments receive the proper treatment they deserve. Happy laundering! 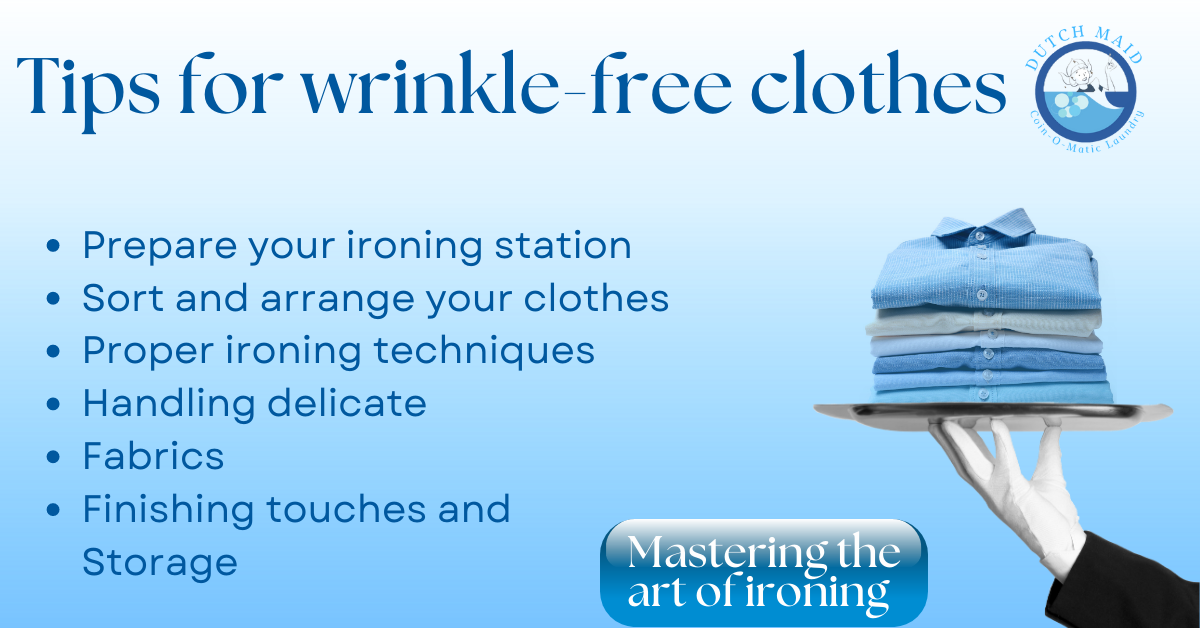 Ironing is a key step in achieving crisp, wrinkle-free clothes that look polished and professional. However, it can often feel like a daunting task, especially if you're unfamiliar with the proper techniques. In this article, we will guide you through the art of ironing, sharing essential tips and tricks to help you master this skill. Say goodbye to wrinkled garments and hello to a wardrobe that exudes elegance and style!
Prepare Your Ironing Station: Before diving into the ironing process, it's important to set up a dedicated space. Here's how to prepare your ironing station: a. Clear Surface: Ensure you have a clean and clutter-free surface to work on, such as an ironing board or a flat, heat-resistant table. b. Gather Essential Tools: Gather all the necessary tools, including an iron, ironing board cover, spray bottle filled with water, and a clean cloth for delicate fabrics. c. Check Iron Settings: Different fabrics require different heat settings. Check the care label on your garment and adjust the iron's temperature accordingly. Sort and Arrange Your Clothes: To streamline the ironing process, sort and arrange your clothes before starting. Here's how: a. Group by Fabric Type: Separate your clothes into groups based on fabric type, such as cotton, linen, silk, and synthetics. This will help you iron them more efficiently. b. Start with Lower Heat Fabrics: Begin with garments that require a lower ironing temperature, such as delicate or synthetic fabrics. This way, you won't risk damaging them by using excessive heat. c. Remove Obstacles: Clear any buttons, zippers, or embellishments that could hinder smooth ironing. Unbutton shirts, zip up zippers, and turn garments inside out if necessary. Proper Ironing Techniques: Now, let's dive into the techniques that will ensure wrinkle-free results: a. Begin with Damp Clothes: For stubborn wrinkles, lightly dampen the fabric with a spray bottle filled with water. This moisture will help the iron glide smoothly and remove wrinkles effectively. b. Start from the Inside: When ironing shirts, start with the collar and cuffs. Turn them inside out and iron these areas first, as they tend to be the most visible when worn. c. Work in Sections: Divide larger garments into manageable sections and focus on one area at a time. This prevents wrinkles from reappearing as you move along. d. Apply Gentle Pressure: Press the iron onto the fabric with gentle pressure, allowing the heat and steam to work their magic. Avoid pushing too hard, as it can stretch or distort the fabric. e. Vertical and Horizontal Strokes: For optimal results, use both vertical and horizontal strokes while ironing. Vertical strokes work best for buttoned shirts and pants, while horizontal strokes are ideal for dresses and skirts. Handling Delicate Fabrics: Delicate fabrics require extra care during the ironing process. Here are some tips for handling them: a. Use a Clean Cloth: Place a clean cloth or a pressing cloth over delicate fabrics to protect them from direct heat. This barrier allows you to iron without directly touching the fabric. b. Lower Heat Setting: Adjust the iron to the lowest temperature suitable for the delicate fabric. Iron on the wrong side or use the pressing cloth to prevent any potential damage. c. Test Before Ironing: Always test a small, inconspicuous area of the fabric before ironing the entire garment. This ensures that the fabric can withstand the heat without being damaged. Finishing Touches and Storage: Once you've ironed all your clothes, give them the finishing touches they deserve: a. Hang Immediately: Hang your freshly ironed garments immediately to prevent new wrinkles from forming. This step is especially crucial for pants and skirts. b. Fold Neatly: For items like t-shirts and sweaters that are typically folded, ensure you fold them neatly along the seams to maintain a wrinkle-free appearance. c. Store Properly: Store your ironed clothes in a clean, dry place, avoiding crowded spaces that can cause wrinkling. Using garment bags or folding them with tissue paper can also help preserve their smoothness. Mastering the art of ironing is a valuable skill that ensures your clothes always look their best. By preparing your ironing station, sorting and arranging clothes, employing proper ironing techniques, and giving attention to delicate fabrics, you'll achieve wrinkle-free results that elevate your wardrobe. With these tips and tricks, you can embrace the art of ironing with confidence, knowing that your clothes will always exude sophistication and elegance.  Dealing with stubborn stains can be a frustrating part of doing laundry. Whether it's a coffee spill, ink mark, or food stain, these blemishes can seem impossible to remove. But fear not! In this article, we will unravel the secrets of effective stain removal techniques. Say goodbye to stubborn marks and hello to fresh, spotless garments. Let's dive into the art of stain removal and reclaim the beauty of your clothes!
Understand the Importance of Acting Quickly: When it comes to stain removal, time is of the essence. The longer a stain sits on your clothes, the more challenging it becomes to remove. As soon as you notice a stain, take immediate action. Grab a clean cloth or paper towel and gently blot the area to remove any excess liquid or debris. Identify the Type of Stain: Different stains require different treatment methods. To effectively remove a stain, it's crucial to identify its type. Common stain categories include food and beverage stains, oil-based stains, ink or dye stains, and biological stains. Knowing what you're dealing with will help you choose the most appropriate stain removal technique. Pre-treat the Stain: Pre-treating the stain is a crucial step in the stain removal process. Here are a few effective pre-treatment methods: a. Rinse with Cold Water: For fresh stains, immediately rinse the affected area with cold water. The cold water will help dilute and flush out the stain before it sets. b. Apply Stain Remover: Use a stain remover or a mixture of detergent and water to create a paste. Gently rub the paste onto the stain, ensuring it covers the entire affected area. Allow the pre-treatment to sit for a few minutes, allowing it to penetrate the fabric and break down the stain. c. Use Natural Remedies: Some stains can be effectively treated with natural remedies. For example, lemon juice works well on fruit stains, while white vinegar is excellent for removing coffee or tea stains. Apply these remedies directly to the stain and let them work their magic before washing the garment. Choose the Right Washing Technique: After pre-treating the stain, it's time to launder the garment. Here are a few washing techniques to consider: a. Follow Care Instructions: Always check the care label on your garment for specific washing instructions. Different fabrics require different handling, and following the recommended guidelines will prevent any damage to your clothes. b. Adjust Water Temperature: In general, using cold water is safest for most stains, as hot water can set some stains permanently. However, certain stains, like grease or oil, may require warm or hot water for effective removal. Again, refer to the care label or consult a stain removal guide for specific instructions. c. Use the Right Detergent: Choose a detergent that is appropriate for the type of stain and fabric you are dealing with. Some detergents are specifically formulated to target stubborn stains, while others are gentle on delicate fabrics. Don't Give Up on Stubborn Stains: Despite your best efforts, some stains may persist. If a stain remains after washing, resist the temptation to dry the garment. Drying can set the stain, making it even more challenging to remove. Instead, repeat the pre-treatment process or seek professional help if necessary. 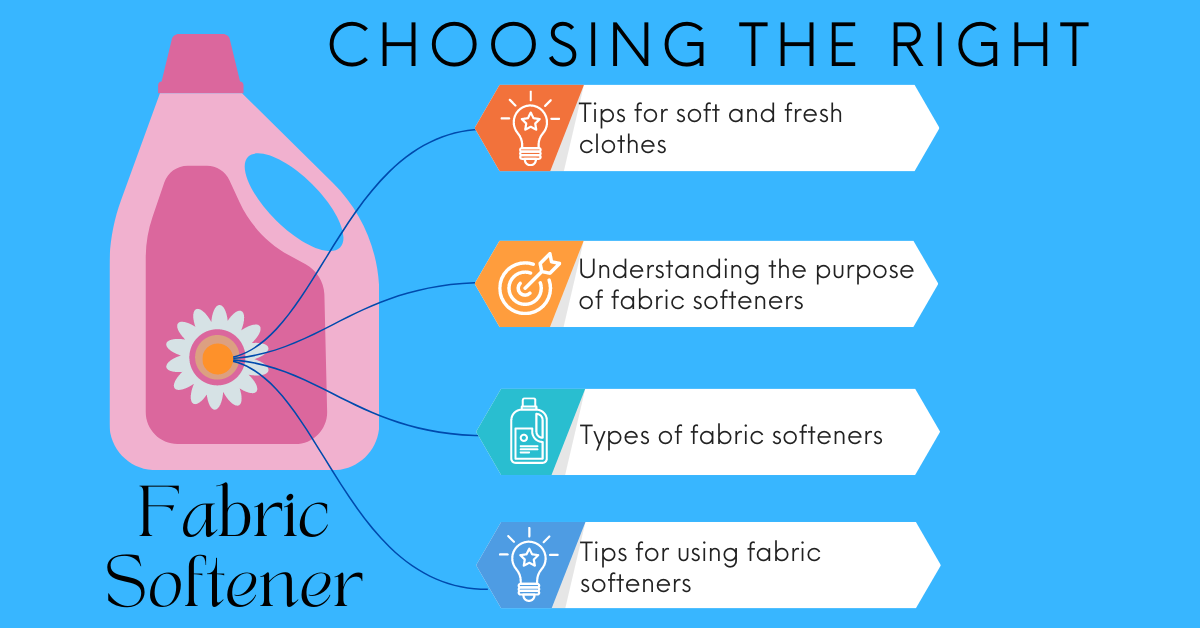 When it comes to achieving soft, fresh-smelling clothes, choosing the right fabric softener is key. Fabric softeners not only enhance the feel of your garments but also provide a pleasant fragrance that lingers long after the laundry is done. In this article, we'll guide you through the process of selecting the perfect fabric softener to achieve the ultimate laundry experience. Say goodbye to stiff, static clothes and say hello to irresistibly soft and fresh laundry!
Understanding the Purpose of Fabric Softeners: Fabric softeners are designed to enhance the feel and fragrance of your clothes while reducing static cling. They work by coating the fibers of your garments, making them smoother and more pliable. This results in softer clothes that are more comfortable to wear and easier to iron. Additionally, fabric softeners leave a pleasant scent that infuses your laundry, providing a delightful experience each time you wear your freshly cleaned clothes. Different Types of Fabric Softeners: There are various types of fabric softeners available in the market, each catering to different needs and preferences. Let's explore the most common types: a. Liquid Fabric Softeners: Liquid fabric softeners are a popular choice due to their ease of use. They can be added during the rinse cycle or through a designated dispenser in your washing machine. Liquid softeners come in a range of scents and formulas, allowing you to customize the fragrance and level of softness. b. Dryer Sheets: Dryer sheets are convenient and user-friendly. They are added to the dryer with your laundry and work by releasing fabric softening agents and fragrance as the clothes tumble. Dryer sheets are great for reducing static cling and infusing your clothes with a subtle scent. c. Fabric Softener Crystals: Fabric softener crystals are a newer innovation in the market. These crystals are sprinkled directly into the washing machine or added to a dispenser. They dissolve during the wash cycle, providing long-lasting freshness and softness to your garments. Considerations When Choosing a Fabric Softener: To ensure you select the right fabric softener for your needs, here are some important factors to consider: a. Fragrance: Fabric softeners come in a wide range of scents, from floral and citrus to clean and fresh. Consider your personal preference and how the fragrance will complement your clothes and overall laundry experience. b. Allergies and Sensitivities: If you or your family members have allergies or sensitivities, opt for hypoallergenic or fragrance-free fabric softeners to avoid any potential skin irritations. c. Fabric Compatibility: Different fabrics may require specific fabric softeners. Delicate fabrics, such as silk or wool, may require a gentler formula to maintain their integrity. Be sure to read the labels and choose a fabric softener that is suitable for the fabrics you commonly launder. d. Environmental Impact: For those concerned about the environment, eco-friendly fabric softeners are a great choice. Look for biodegradable or plant-based options that minimize chemical exposure and are safer for aquatic life. Tips for Using Fabric Softeners: To make the most of your fabric softener, consider these helpful tips: a. Follow Instructions: Always follow the manufacturer's instructions for the recommended amount of fabric softener to use per load. Using too much may leave a residue on your clothes, while using too little may not provide the desired softness. b. Avoid Overloading: Overloading your washing machine can prevent the fabric softener from distributing evenly. Ensure there is enough space for the softener to mix effectively with the water and reach all your garments. c. Precautions for Specific Fabrics: Certain fabrics, such as towels or athletic wear, may lose their absorbency or moisture-wicking properties when exposed to fabric softeners. Check the care labels on your garments and adjust your usage accordingly. Choosing the right fabric softener can make a world of difference in the softness and freshness of your clothes. By understanding the different types of fabric softeners available, considering your preferences and needs, and following best practices for usage, you can enjoy the luxury of soft, fragrant laundry every time. Experiment with different options, find your favorite scents, and let the magic of fabric softeners transform your laundry routine into a delightful experience. Remember, when it comes to achieving soft and fresh clothes, the right fabric softener is your secret weapon! Happy laundering! |
AuthorWrite something about yourself. No need to be fancy, just an overview. ArchivesCategories |
 RSS Feed
Site powered by Weebly. Managed by Directnic